Meteor deployments without mup
You’re probably familiar with mup or even Galaxy, which make deployments pretty straightforward. However, when it comes to using binaries, things get complicated. Suddenly, creating your own deployment script becomes the less complicated option, but it brings with it an immense set of other benefits!
This guide was updated for Meteor 3, which has Node pinned at v22. Also added info on future upgrades.
Advantages of deploying manually
Quite a few good things come out of this. Also it goes without saying that familiarity with the inner workings with a magical tool such as meteor is a good thing.
- Faster deployment. Once your bundle is uploaded, the deployment is running in seconds
- There is no longer an SSL error during deployment. The error is a relic of a long-standing “code smell” from mup that I do not like. I believe the cause is that SSL support is handled by a separate docker container which becomes part of a docker network, and while that container is down, the certificate is gone.
- You can replace the 500 error page that appears during deployments. When you configure NGINX yourself, you don’t have to worry about “stepping on toes”.
- There is no need to author and maintain a docker image. That’s one less thing to worry about.
In this guide, you will (1) Provision a new server with NGINX to forward requests to the correct port based on the requested domain and install Certbot to auto-renew certs. (2) Create the deployment scripts and environment files to be used from your laptop. (3) Run any number of meteor apps on the server, each one bound to a different port.
Provisioning from a blank server
For this guide, I used Ubuntu Server 24 on DigitalOcean. You’ll want to have set up PEM key authentication in SSH, if you don’t know how to, check out this guide. And don’t forget to create a non-root user to run your apps under.
adduser ubuntu && usermod -aG sudo ubuntu
Now let’s get all the software installed onto the server…
curl -sL https://deb.nodesource.com/setup_22.x | sudo -E bash -
sudo add-apt-repository ppa:nginx/stable
sudo apt-get update
sudo apt install -y nginx certbot python3-certbot-nginx nodejs jq build-essential
sudo npm install -g pm2
Configure NGINX to proxy to node
Node is not running any of our apps yet, but we can stage the config files and get SSL working. Create a vhost for and app that will run on port 3000.
sudo nano /etc/nginx/sites-available/default
map $http_upgrade $connection_upgrade {
    default upgrade;
    '' close;
}

server {
    listen 80;
    server_name example.jamesloper.com;
    root /var/www/html;
    client_max_body_size 100M;

    location / {
        proxy_pass http://127.0.0.1:3000;
        proxy_http_version 1.1;
        proxy_set_header Upgrade $http_upgrade;
        proxy_set_header Connection $connection_upgrade;
        proxy_set_header X-Forwarded-For $remote_addr;
        proxy_set_header Host $host;
    }
}
Test the config, restart nginx, and enable SSL:
sudo nginx -t
sudo service nginx restart
sudo certbot --nginx -d example.jamesloper.com
Creating the upload script for your laptop
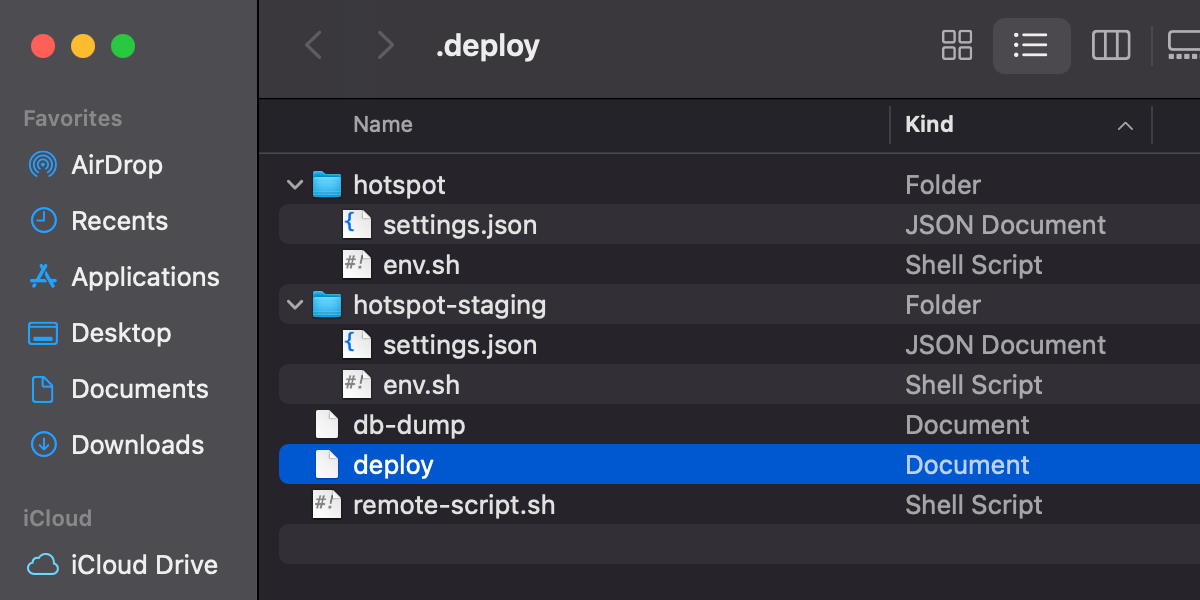
Create .deploy folder for your deployment scripts. In that folder create two more folders to contain your staging and production environment variables.
📂 .deploy
   📂 example
      📄 env.sh
      📄 settings.json
   📂 example-staging
      📄 env.sh
      📄 settings.json
   📄 deploy
   📄 remote-script.sh
Contents of deploy
#!/bin/bash

function log() {
  echo "\033[0;35m\033[1m$1\033[0m$2"
  tput sgr0
}

# Check for the right files inside the deployment folder
[ ! -f "$1/settings.json" ] && log "Could not locate settings.json" && exit 1
[ ! -f "$1/env.sh" ] && log "Could not locate env.sh" && exit 1

cd ../
PROJECT=$(basename $PWD)
SERVER="ubuntu@example.jamesloper.com"

# check cached build directory
log "Building meteor app"
useCache="n"
[ -d "/tmp/$PROJECT" ] && read -p "Use cached build? [y/n]: " useCache
if [ $useCache != "y" ]; then
  meteor build /tmp/$PROJECT --architecture os.linux.x86_64
fi

log "Uploading app & settings"
ssh $SERVER "mkdir -p $1"
scp -pr /tmp/$PROJECT/* $SERVER:$1
scp -pr .deploy/$1/* $SERVER:$1

log "Executing remote script"
ssh $SERVER "APP=$1 PROJECT=$PROJECT bash -s" < .deploy/remote-script.sh
Contents of remote-script.sh
#!/bin/bash

cd $APP
export BIND_IP=127.0.0.1
export HTTP_FORWARDED_COUNT=1
export METEOR_SETTINGS=$(cat settings.json | jq -M -c -r .)
source env.sh

echo "Unzipping"
tar -xf "$PROJECT.tar.gz"

echo "Installing npm packages"
cd bundle/programs/server
npm install --production &> /dev/null

echo "Restarting app"
pm2 stop $APP -s
pm2 flush $APP -s
pm2 start ../../main.js --name $APP --update-env -s
pm2 logs $APP -s
Contents of example/env.sh
You can make a new folder for each deployment. In the example directory layout I used above, production files are in example/ and staging files are in example-staging/. For each deployment, place a settings.json file in the deployment folder, and as for the env.sh, here is the one I am using for production (the port is 3000, the root URL is fully qualified)
#!/bin/bash

export PORT=3000
export ROOT_URL=https://example.jamesloper.com
export MAIL_URL=smtp://postmaster%40jamesloper.com:password@smtp.mailgun.org:587
export MONGO_URL=mongodb://app:password@db.jamesloper.com:27017/example
export MONGO_OPLOG_URL=mongodb://oplog:password@db.jamesloper.com:27017/local?authSource=admin
Running your first deployment
To deploy, run the script and give it the argument of the deployment folder.
sh deploy example
After deploying, you will get the logs. You can also pull up the logs any time like this.
ssh ubuntu@example.jamesloper.com
pm2 logs example
Enable pm2 startup
To ensure your sites start up when the server starts up, execute pm2 startup and follow the instructions.
Future updates
Future versions of Meteor occasionally bump up the version of Node. If you’re wondering, you can check the Meteor Node version with meteor node --version. Since we are not dealing with docker containers, if you use this approach you will have to operationalize your upgrade process. That process is as follows:
- Upgrade all your meteor projects locally and ensure they all work on the latest version of Meteor/Node.
- ssh into your server, take your websites offline, and update node.
- Re-deploy all your meteor apps!
- Re-check that startup is still enabled with
pm2 startup